Gluten-Free Dough Without the Frustration: How to Get the Perfect Consistency Every Time

Gluten-Free Dough Without the Frustration: How to Get the Perfect Consistency Every Time
Baking without gluten can feel like a science experiment gone wrong—sticky dough, crumbly loaves, or flat, dense results. But once you understand how gluten-free ingredients behave, you can take control of the texture and create soft, flavorful breads, rolls, and pastries every time. Here’s a practical guide to help you skip the frustration and master gluten-free dough.
Understand the Difference: Gluten-Free Dough Isn’t Like Regular Dough
Gluten is the protein that gives wheat dough its stretch and structure. Without it, your dough won’t trap air the same way, which means you need to approach mixing, kneading, and rising differently.
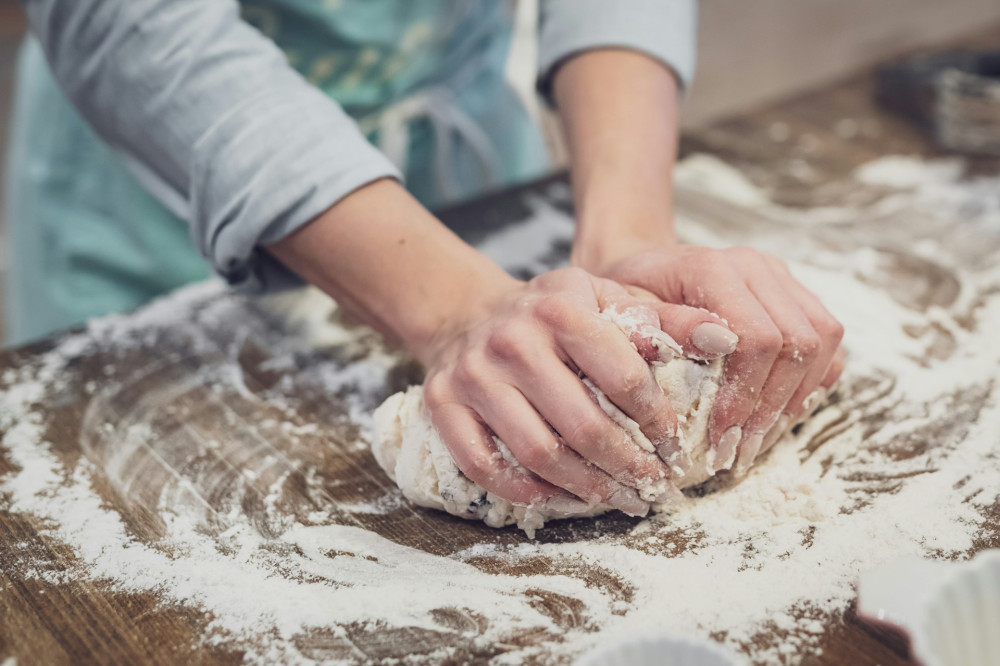
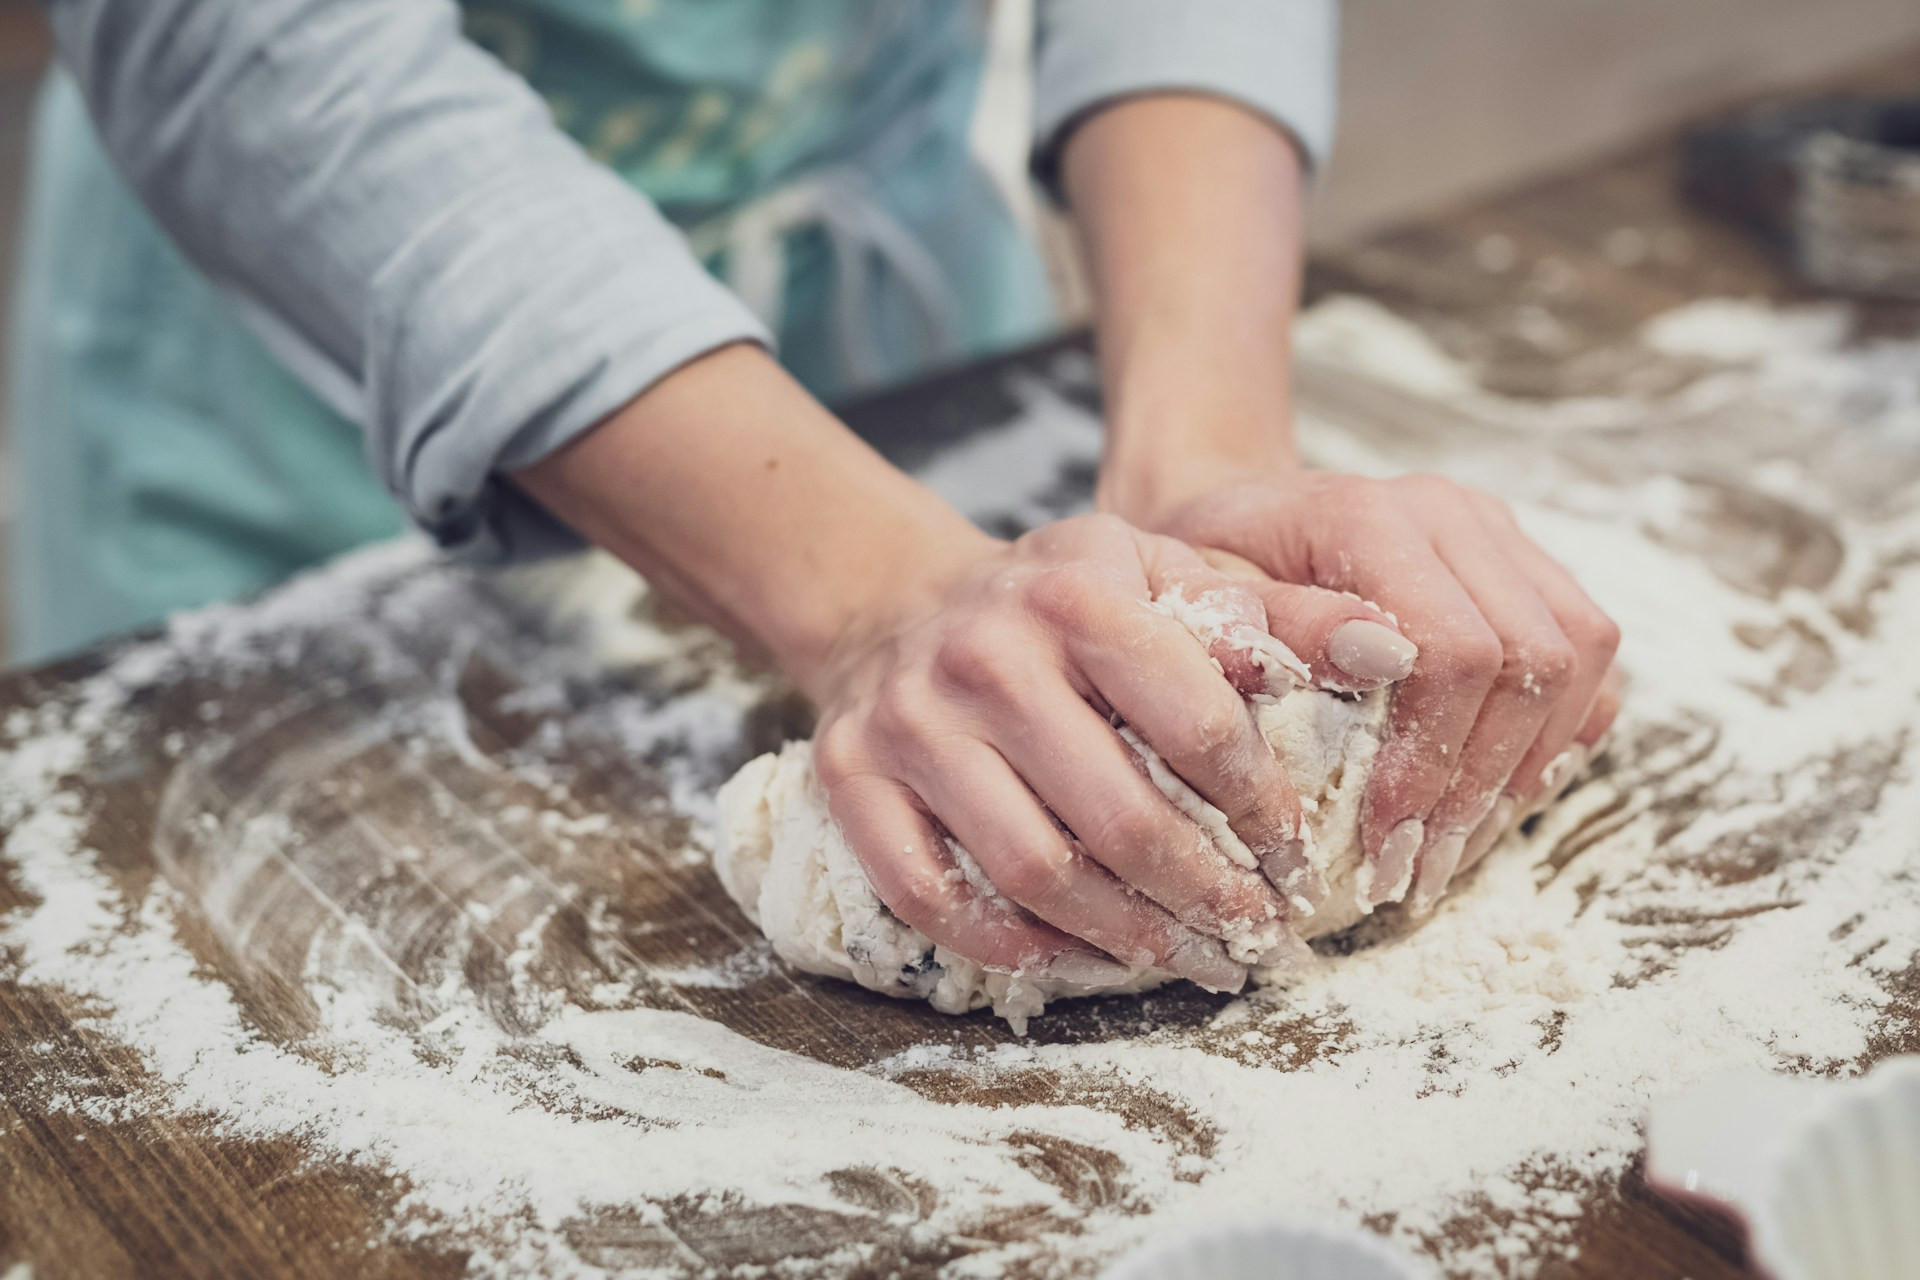
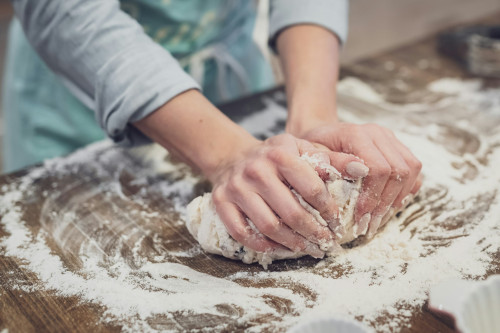
A gluten-free dough is usually more like a thick batter than a firm, elastic dough. That’s normal. You don’t need to knead it like wheat dough—in fact, overmixing can make it heavy. The goal is to mix the ingredients thoroughly and then let them rest so the flours can absorb moisture.
Læs også:
Choose the Right Flours and Binders
No single gluten-free flour can do it all. The best results come from combining several types to balance texture, flavor, and structure. Try mixing:
- Rice flour – a light, neutral base.
- Tapioca starch or potato starch – adds chewiness and lift.
- Oat flour or buckwheat flour – brings flavor and body.
- Almond flour or chickpea flour – adds moisture and protein.
To replace gluten’s binding power, you’ll need a binder such as xanthan gum, guar gum, or psyllium husk powder. These help the dough hold together and give it elasticity. Start small—about 1 teaspoon per cup of flour is usually enough.
Adjust the Liquids—and Give the Dough Time
Gluten-free flours absorb liquid differently, so it’s best to judge by texture rather than follow a recipe to the letter. The dough should be moist but not runny—think thick oatmeal rather than bread dough.
Let the dough rest for 10–15 minutes before shaping. This gives the flours time to hydrate and makes the dough easier to handle. If it still feels too dry, add a little more liquid, one tablespoon at a time.
Use Leavening Wisely
Because gluten-free dough can’t trap air as easily, you’ll need to help it rise. Use fresh yeast or baking powder, and add a bit of sugar or honey to feed the yeast.
A warm, slightly humid environment helps the dough rise evenly. Cover it with a damp towel and let it rest in a warm spot—but don’t overproof it, or it may collapse once baked.
Shaping and Baking—Avoid Stickiness and Crumbling
Gluten-free dough can be sticky, but a few tricks make it easier to handle:
- Keep your hands or tools wet when shaping rolls or loaves.
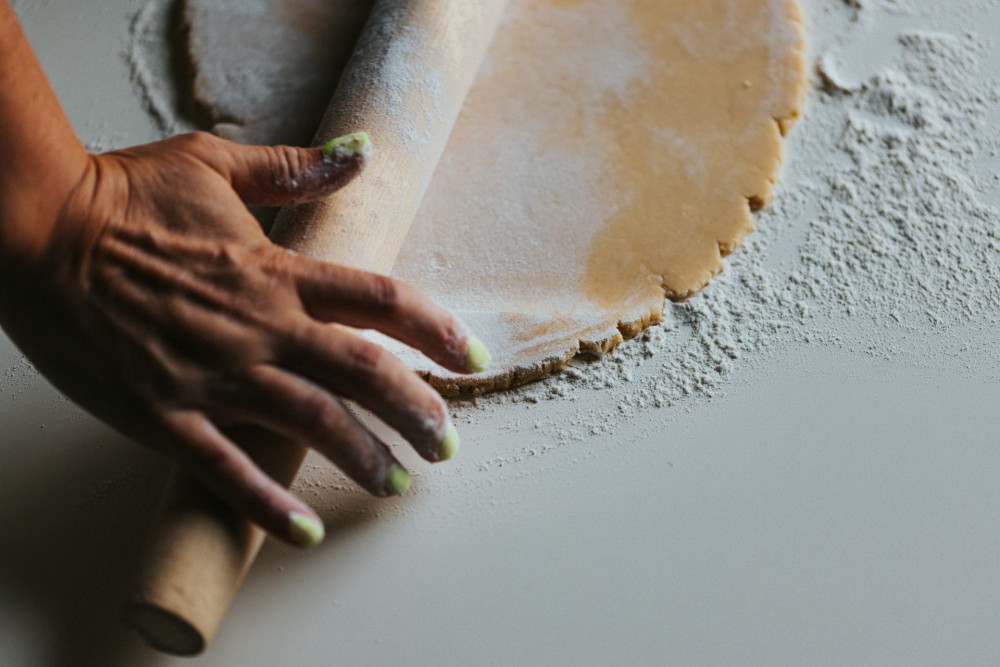
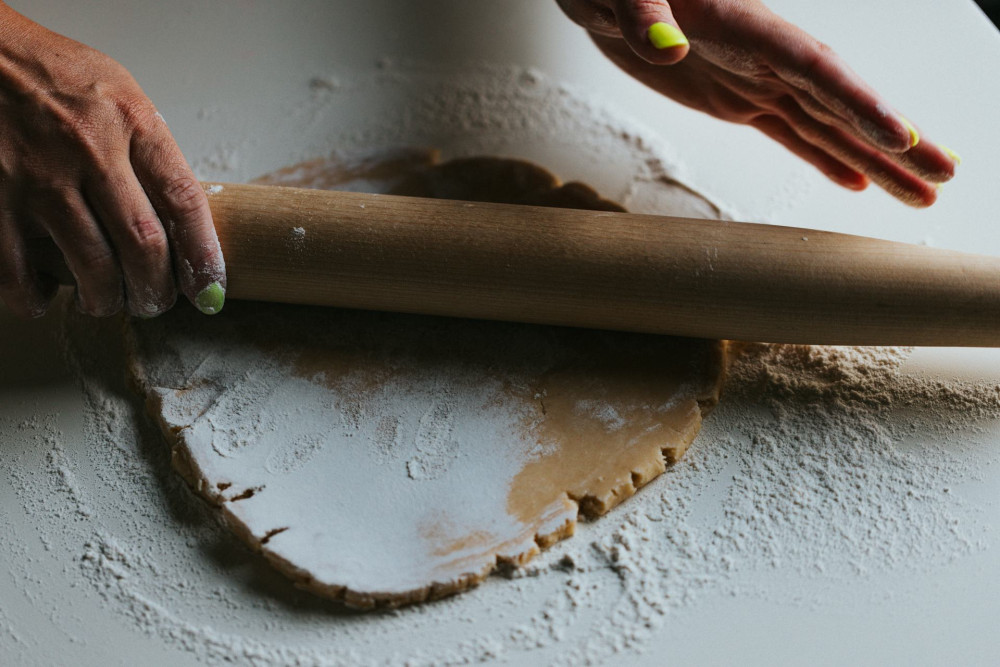
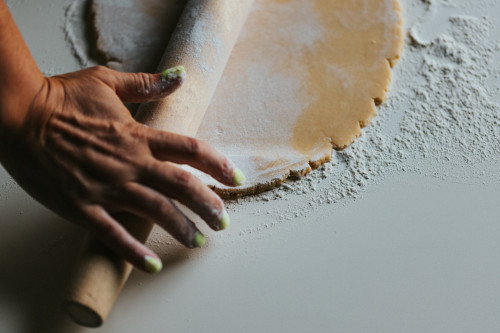
- Dust your work surface with rice flour instead of wheat flour—it sticks less.
- Use baking pans or molds to support the dough as it bakes.
Gluten-free baked goods often need a little extra time in the oven to cook through and develop a crisp crust. Tap the bottom of the loaf—if it sounds hollow, it’s done.
Moisture and Fat—The Secret to Soft, Tender Results
Gluten-free breads can dry out quickly, so moisture is key. Add ingredients like eggs, yogurt, oil, or butter to keep the dough soft. You can also mix in grated zucchini, carrot, or apple to retain moisture without changing the flavor much.
For an extra touch, brush the loaf with a bit of melted butter or oil right after baking. It keeps the crust soft and adds a beautiful sheen.
Practice Makes Perfect—And Take Notes
Even with the best tips, gluten-free baking takes practice. Keep notes on which flour blends and ratios work best for you, and how the dough behaves. Small adjustments can make a big difference.
Once you learn to read your dough and understand its quirks, gluten-free baking stops being a struggle—and becomes a creative, rewarding process where you can experiment and find your own favorites.
Læs også: